


Introduction
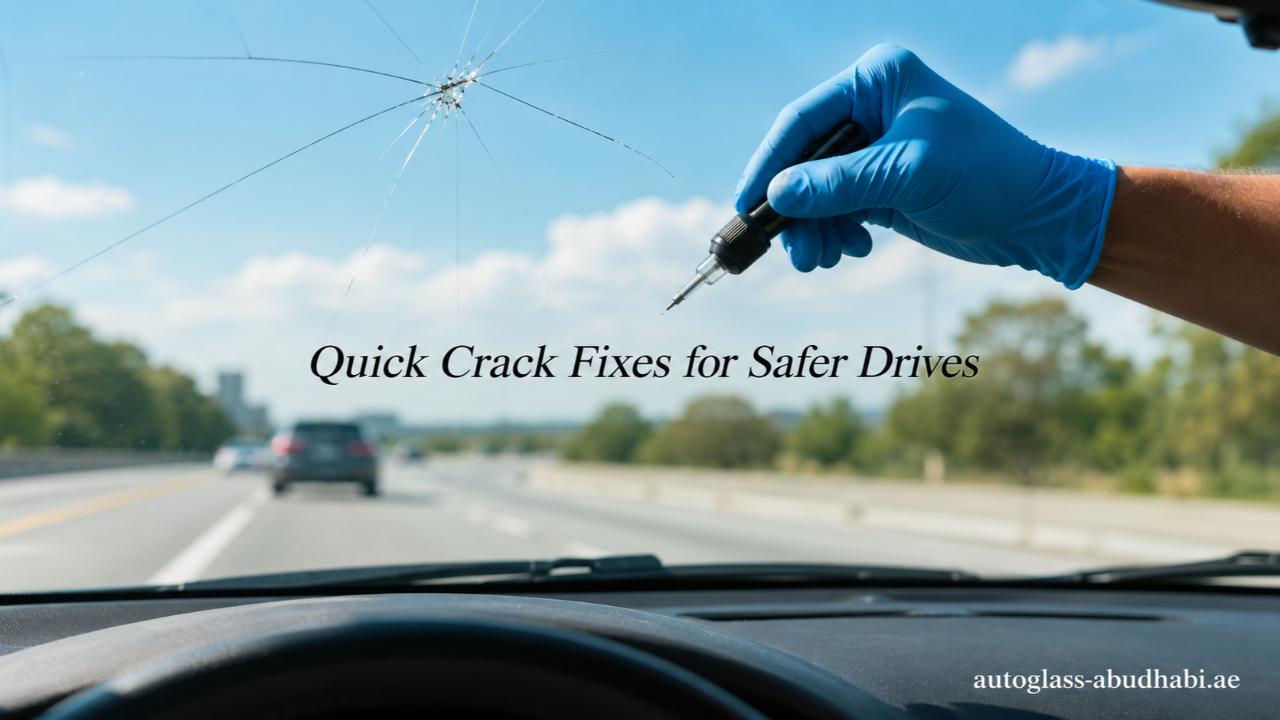
Dealing with a sudden rock chip on your front window is easily one of the most frustrating moments a driver can face. You are cruising down the highway, minding your business, and suddenly a tiny pebble flies from a construction truck, leaving a nasty little spiderweb mark right in your line of sight. If you do not handle it quickly, that minor blemish will spread across the whole glass like wildfire. To save your wallet from an expensive replacement, you need to learn how to fix windshield crack imperfections before they get out of hand. Mastering this little DIY skill is a great way to handle the situation without panicking. Understanding the mechanics of glass tension helps you realize why a quick reaction is so vital to fix windshield crack spots permanently.
Catching the Damage Early Before it Spreads
The absolute secret to saving your glass is all about timing. Think of your front glass as a highly stressed piece of material. It is constantly fighting wind resistance, cabin pressure, and temperature swings. When a tiny rock hits it, it creates a weak spot.
If you leave that weak spot alone, the next big bump you hit or the next freezing morning when you blast the defroster will cause that tiny spot to snap. Suddenly, your tiny chip is a two-foot line stretching from side to side. Once dirt, rain, and car wash soap find their way into the deep layers of the glass, the clarity is ruined forever. Catching it within the first few days gives you a massive advantage because the internal area is still clean and ready to bond.
Note: At Windmaster Autocare LLC, we specialize in the essential Fix Windshield Crack Abu Dhabi procedure to keep your car structurally sound. Harsh heat can quickly worsen minor glass damage, making prompt action vital. Trust our professional team to handle your repairs. Reach out today for efficient and seamless vehicle care.
The Secret Liquid Magic: Choosing and Prep Work
Professional shops do not use any crazy voodoo to make cracks disappear; they use high-grade liquid resin that mimics the exact optical properties of glass. If you want to do this at home, you can buy simple consumer kits that use the same science. The trick lies in how you prepare the surface. You cannot just squirt resin onto a dirty window and hope it holds.
- Clean the pit: Use a fine safety pin or a thumbtack to gently scrape out any tiny loose glass shards from the center impact point.
- Dry it completely: Moisture is the absolute enemy of a clear repair. If it rained recently, use a hair dryer on a low setting to evaporate any hidden water trapped inside the laminate layers.
- Degrease the zone: Rub a tiny bit of high-purity rubbing alcohol around the area to strip away road oils and old wax, ensuring the adhesive pedestal sticks perfectly.
Step-by-Step Pressure Tactics to Fix Windshield Crack Imperfections
Once your prep work is flawless, the real magic happens through a balancing act of pressure and vacuum. Cheap kits usually come with a small plastic syringe or plunger device that mounts directly over the chip using suction cups. This device is your main tool for forcing the liquid resin deep into the microscopic fractures.
Forcing the Air Out
First, you create a vacuum by pulling the plunger upward. This draws out all the tiny air pockets trapped inside the break. If you skip this, those air bubbles will stay trapped, leaving a silver, reflective outline that makes the damage look just as bad as before you started.
Pushing the Resin In
Next, you twist or push the plunger down to create positive pressure. This action forces the clear resin into every single microscopic leg of the spiderweb. You will literally watch the damage vanish before your eyes as the liquid fills the voids and eliminates the reflections.
The Final UV Hardening
The resin used in these kits does not dry by air; it cures under ultraviolet light. Once the cracks are full, you peel off the pressure apparatus and place a clear curing strip directly over the wet pit. Park your car out in the direct afternoon sun for about fifteen to twenty minutes, or use a dedicated UV light wand. The radiation snaps the molecules of the liquid together, turning it into a rock-hard solid that binds the broken pieces together forever.
Scraping Away the Leftovers for a Smooth Finish
After the sun has done its job and the resin under the plastic strip is totally hard, you will be left with a rough, raised bump on your glass surface. Do not worry, this is exactly what is supposed to happen.
Take a fresh, single-edge razor blade and hold it at a sharp ninety-degree angle against the window. Gently scrape back and forth over the hardened bump. The razor will slice through the excess resin, leaving it perfectly flush with the rest of your smooth glass. Wipe it down with standard window cleaner, and you will barely be able to find where the original rock hit you in the first place.
Conclusion
Taking care of your car does not always require a trip to an expensive mechanic or calling in a massive insurance claim for a total glass replacement. With a little bit of patience, a cheap resin kit, and the right timing, you can easily erase those annoying marks right in your own driveway. It keeps your car safe, maintains the structural integrity of your cabin, and keeps your view clear. However, if you ever find yourself looking at a massive break that spans halfway across your view, or if you just want the ultimate peace of mind that comes with a certified master touch, the team at Windmaster Autocare LLC has always got your back to make sure your ride stays perfectly safe and flawless on the open road.
